

Silicone Popsicle Molds Written Review
Today, I’ll be reviewing a simple silicone popsicle mold to see if it’s really worth it.
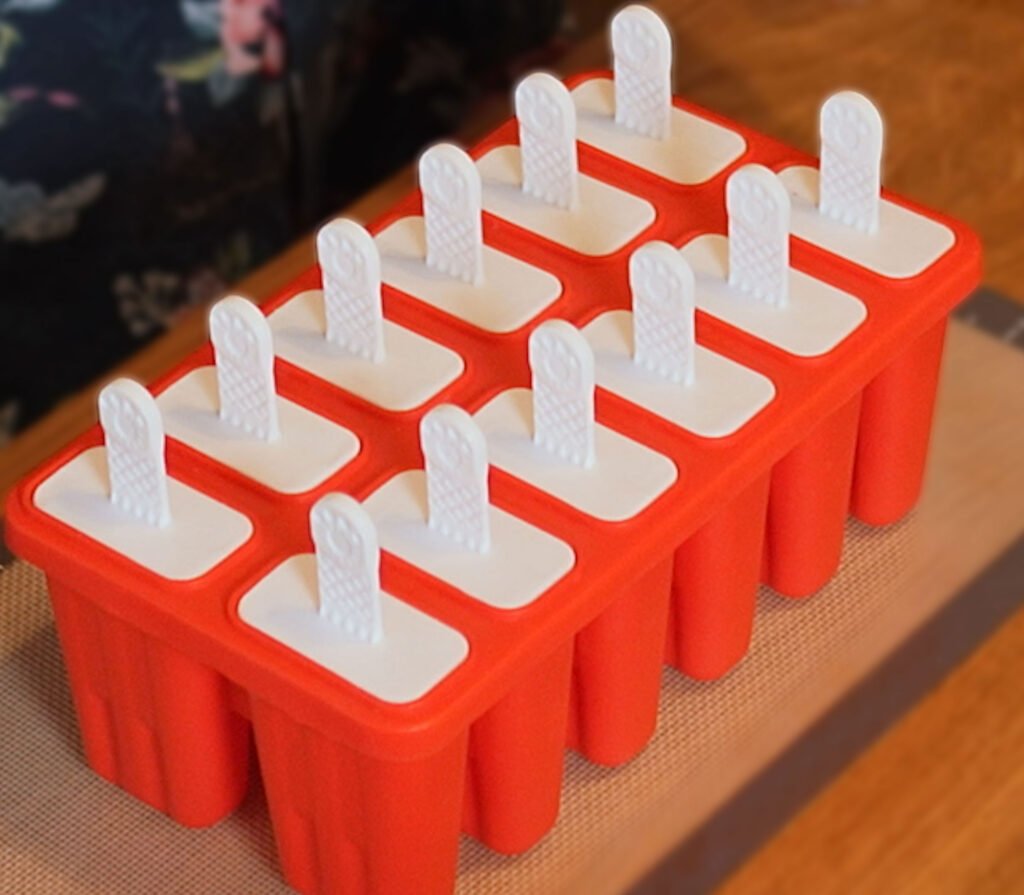
I’ll be making three popsicle recipes to test out the mold. I’ll also attempt to visually make the perfect popsicle, a mediocre popsicle, and a not so perfect popsicle. How does it all turn out? Read on to see.
I got the mold with twelve cavities that accommodates twelve popsicles, but as of now, the company also makes them with six cavities and ten cavities. So, you have options to make less if you’d like. They come with these little plastic sticks that go directly into the mold just and stay in place. And then it also comes with a little funnel and cleaning brush. It’s BPA free and has great reviews, but I’d like to see it in action to see if it’s really worth it. Let’s make our first recipe.
Recipe 1 | Tropical Yogurt Popsicles
Let’s make Tropical Yogurt Popsicles with whole fruit.
Start with a high powered blender. Add half a cup of whole milk. 2 cups of 2% unsweetened Greek yogurt. That’s roughly one 16oz container. Next, add 1 and 1/2 cups of fresh pineapple. Feel free to add any fresh pineapple juice with it.
Next, add roughly 2 cups of frozen mangoes that have been sitting at room temperature for about a half an hour. Add one fresh banana. Just break it in two so it fits nicely in the blender. 1 teaspoon of vanilla extract, 1/4 cup of maple syrup, and as an additional option, you can add 1/8 teaspoon of xanthan gum, which helps prevent ice crystals from forming and is often used in organic products. I will be adding that today. Next, we’ll blend it all together.
You will get the smoothest consistency for this recipe by using a large food processor or a high-powered blender. I’m using the Blendec Total Blender Classic. I’ve had mine for over 10 years and I highly recommend it. I recently did a 10-year review and how to for this Blendec.
Now, we pour the mixture into these adorable popsicle molds. Fill each mold to almost all the way to the top, leaving a small amount of room at the top. If you fill it all the way to the top, it will spill over when you put the sticks in.
So, let’s put all of our sticks in. Now, note that before pouring, I set the popsicle mold onto a very small baking sheet to ensure that it’s easy to transport and will be perfectly flat while freezing. This is the best chance of making a visually perfect popsicle. Now, let’s put the molds into the freezer overnight.
So, to get these popsicles out, you just push up from the bottom. It’s so easy to get these popsicles out. I was skeptical, but I honestly can’t believe how easy it is. And this looks amazing. The popsicle molds did such a good job.
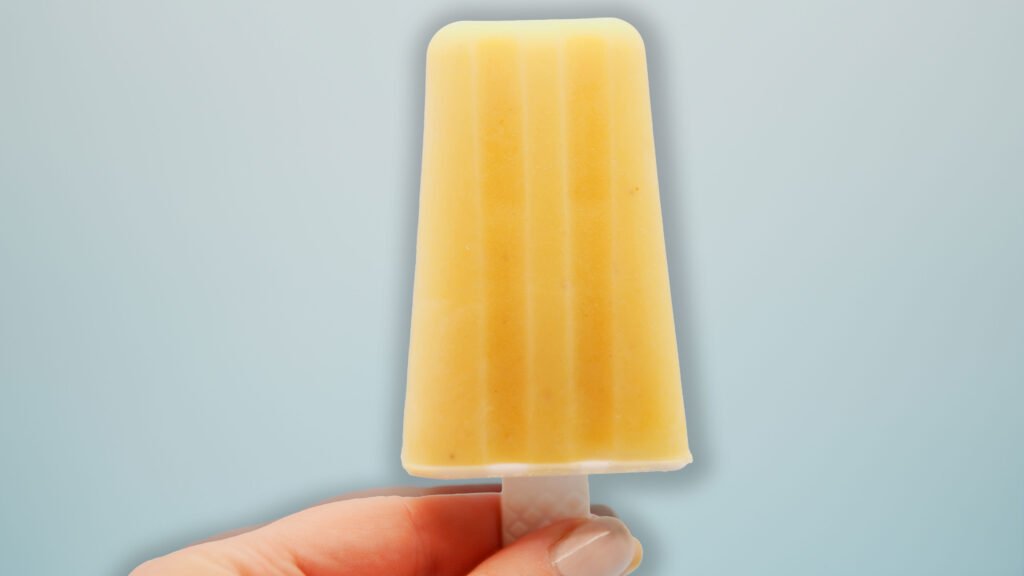
Now you get a fiber filled, protein packed popsicle. A healthy, nutritious dessert. But how does it taste? That is so good and so refreshing. I can’t believe that it’s super healthy and protein packed. You’re just not going to get anything like this in the store. These are fantastic.
Recipe 2: Mixed Berry Yogurt Popsicles
Let’s make our second recipe. Mixed berry yogurt popsicles with whole fruit.
First, we’ll add 1 1/4 cup of whole milk. Next, add unsweetened Greek yogurt. I’m using 2%. My feeling is a little bit more fat content is better when freezing, but you’re welcome to try non-fat as well as skim milk if you’d like.
Now add 2 cups of unsweetened Greek yogurt. That’s about a 16 oz container. Add in an 1/8 cup of honey roughly. Then, we’re going to see how sweet it is, and I might be adding an additional sweetener to it.
Next, add 1 teaspoon of vanilla extract. Then half a cup of blueberries, roughly half to 3/4 of a cup of strawberries, half a cup of raspberries, a handful of blackberries, one fresh banana, break it in half and toss it in.
And as an optional addition, you can add an eighth teaspoon of xantham gum. I will be adding that today. Note, you can also use frozen mixed berries for this recipe as well. They just won’t pour quite as easily, but it’ll be fine.
Next, we’ll blend it all together. On the Blendec, press the smoothie button for one cycle or until completely combined. This usually takes about 1 to 2 minutes.
Okay, let’s check to see if it’s sweet enough. And I think it’s a little tart for me. So, I’m actually going to add another ingredient. Now I’m going to sweeten it with 1/4 cup of maple syrup. Let’s take a taste again and see where we’re at. I’m really happy with this. This tastes awesome.
So, next we’re going to pour the mixture into these silicone popsicle molds. Let’s give this little funnel that came with the molds a try.
Results: The silicone funnel stayed in place really well as I poured. It has several ridges of fill lines. Pouring it to the fill line that’s second from the top seemed to work best. However, I ultimately found using the funnel a little more difficult than just using my Blendec pitcher.
If you find that your popsicle cavities are too full, just grab a spoon and scoop out the excess little by little, putting the mixture into another cavity that is not as full. You can even it out that way quite easily. Then make sure wipe up any spills so that they don’t freeze on the mold.
We’re filled to the right spot, so let’s put all of our sticks in. Now, remember, we’re not using a baking sheet for this recipe, to see how that works when freezing. I will try to keep it as level as possible in the freezer though.
Lifting the silicone popsicle molds without a baking sheet is a little daunting, but one hack is to lift the popsicle mold from the underneath center portion while gently holding the bottom of the outer molds. That will be your best bet to get it smoothly into the freezer without a tray or baking sheet underneath it.
Let’s get this in the freezer without spilling it. We’ll leave the molds in the freezer in overnight.
It’s the next day and the popsicles are done. We did not use a tray and it is just a little bit imperfect in terms of how the mold sat in the freezer. Without a tray, it will probably never be perfectly flat. But did that effect how they turned out? It did not! The popsicles again came out with ease. And honestly, the popsicles look beautiful! The ridges, the presentation of this is so pretty.
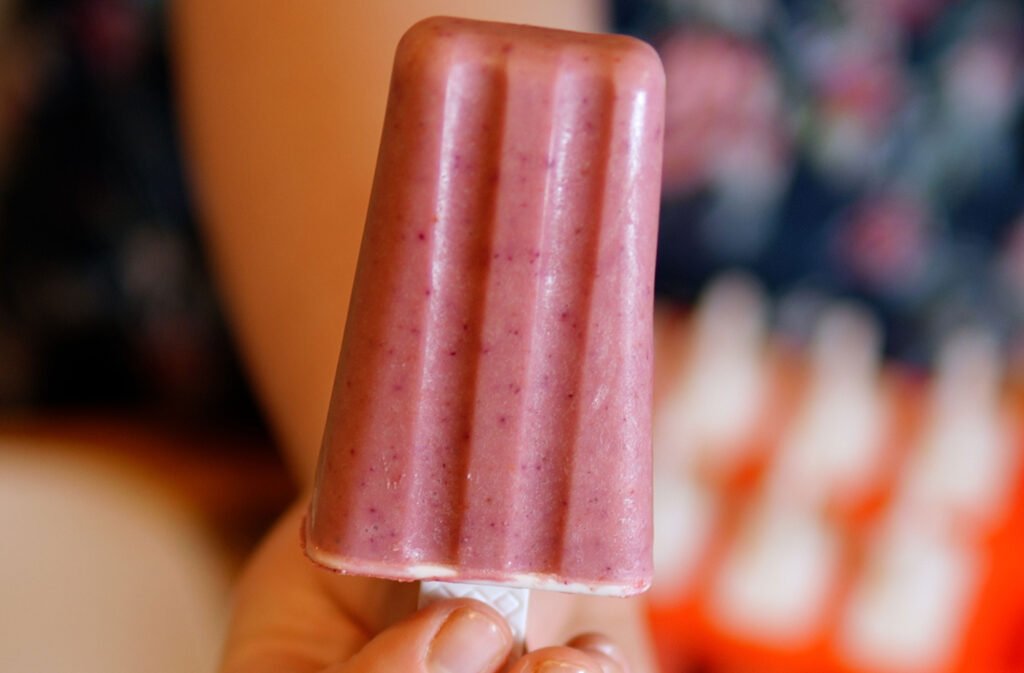
How does it taste? That is so refreshing. You can taste the yogurt. It’s got a beautiful blend of sweet and just a tiny bit sour, but not too tart. The consistency is perfect for a popsicle. This is great. And packed with protein again. Healthy and delicious. You can’t beat that! Let’s make our third and final recipe.
Recipe 3 | Cherry Popsicles
Cherry popsicles with whole fruit. Again, we’ll use the Blendtec. First, add a half a cup of water. Then we’ll add approximately 3 tablespoon of maple syrup. It’s okay if you add a little more.
Next, cut one thin slice of lemon, including the rind, and add that in. Add in three cups of frozen cherries. This is probably going to be about 15 oz. Since we’ll be storing it in the freezer, I recommend adding 1/8 teaspoon of xanthan gum. Next, we blend.
On the Blendec, press the ice cream button for one cycle or until you’ve reached your desired consistency.
Sometimes when making frozen treats in the Blendec, it gets a little stuck. You can either give it a few gentle taps and then start the ice cream cycle again or add a little more water. A few taps work just fine for me.
Let’s go ahead and pour our popsicle molds. I should note that this recipe is for roughly eight popsicles. I wanted to see how this popsicle mold would do when it’s only 2/3 of the way full.
Let’s put these in the freezer overnight and we’ll check back in on them tomorrow.
I think it’s time to get them out of the freezer.
Not only did I not use a tray underneath, but I actively attempted to create a slightly uneven surface in the freezer just to see how the silicone popsicle molds would do. Would it still create beautiful popsicles? Let’s find out.
Again, the popsicles came out so easily. And I can’t believe it… they look absolutely gorgeous. Wow.
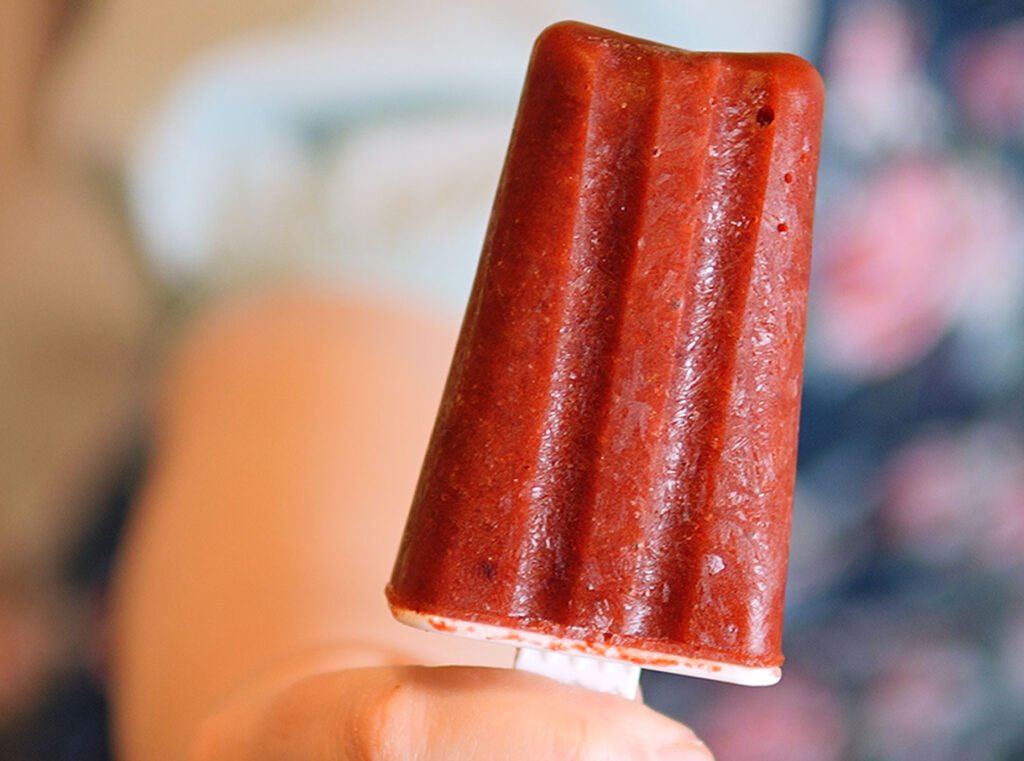
It doesn’t seem to have mattered that the silicone was kind of up a little bit on one side. The popsicles still look perfect. Okay, let’s give it a taste. That is perfect. It is sweet with just a little bit of sour the way I love it. It’s the perfect consistency. It is an awesome, awesome popsicle.
Silicone Popsicle Molds | Final Review
So, do I think this popsicle mold is worth it for me? Absolutely yes. I think it makes beautiful popsicles, even with tremendous human error. I love the ridge effect it has. The sticks hold up nicely. They have a little grip on the sticks as well, which makes it so easy to hold onto.
And the silicone makes it a snap to remove the popsicles, which was always my problem with the hard shell popsicle molds I’ve used in the past. Our experiment with freezing conditions had great results. While lying flat is always best, all the popsicles turned out beautifully, even under more rugged conditions. I am very impressed with this unit. Although, I do advise using a tray when you’re freezing.
The free silicone funnel that came with it is super cute. However, I personally felt I had more control when not using it. And on a recipe where I used frozen fruits, using the funnel in that circumstance was almost impossible, because it would come out more in lumps than liquid form. But that being said, I am glad they included it as I think it could be very helpful for a lot of people.
I also appreciate them including the cleaning brush as it makes it easier to reach the bottom of the molds when cleaning.
All in all, I think the result is exactly what I wanted to make charming, appetizing popsicles exactly to my specifications. I can make them with healthy ingredients and the sweeteners of my choice. And they look so beautiful.
This is a clear winner for me. I am so glad I bought it and I hope to be using it for years to come. For more kitchen product reviews, click here: kitchen product reviews. See you on the next one!
RECIPE LINKS BELOW⬇️
🛒 Links to products found in this article and video:
Popsicle Mold (12 and 10 cavity)
Blendtec Total Blender Classic
Sliders for Under Countertop Appliances (Heat-Resistant)
Nordic Ware Small baking sheet
KitchenAid Silicone Baking Mat
Vera Bradley Apron (Rose Toile)
🍽️ RECIPES found in this video:
🥭🍍Tropical Protein Popsicles Recipe🍍: https://youtu.be/CJ2hnjLrtxo
🫐🍓Mixed Berry Whole Fruit Greek Yogurt Popsicles🍓🫐: https://simplefantastickitchen.com/mixed-berry-whole-fruit-greek-yogurt-popsicles/
🍒Cherry Popsicles Recipe🍒: https://youtu.be/4Z6bG4em3ug

Hi, I’m Allison, the founder of Simple Fantastic Kitchen. I live in the mountains in a tiny house with a tiny kitchen where I make